Preparing for Spray Foam Installation
How to Prepare Your Property for Spray Foam Installation
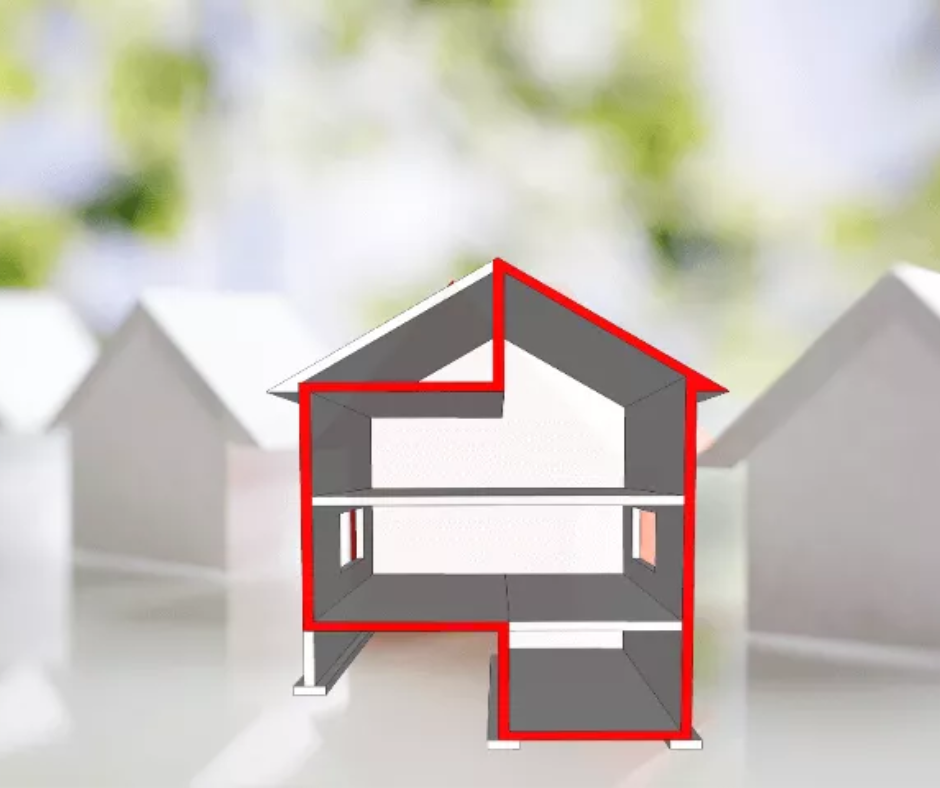
Why Preparation Is Critical
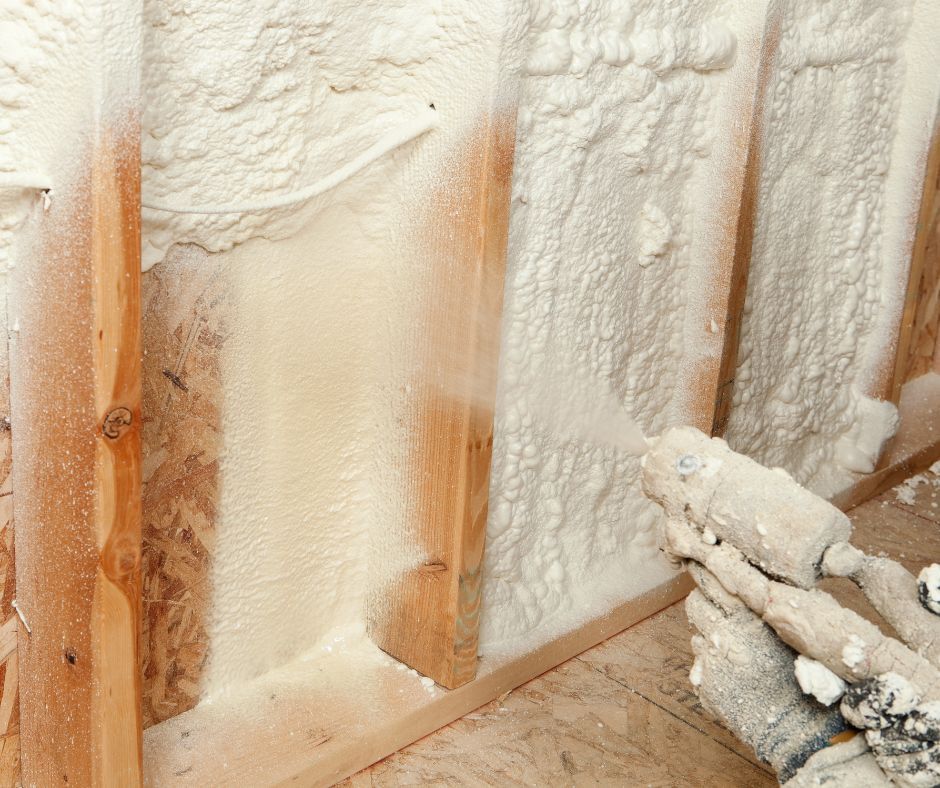
Installing spray foam insulation isn't as simple as showing up and spraying a product. Proper prep work ensures the foam adheres correctly, cures effectively, and delivers optimal energy performance. Inadequate preparation can lead to delays, safety risks, and costly rework.
Step 1: Clear the Work Area
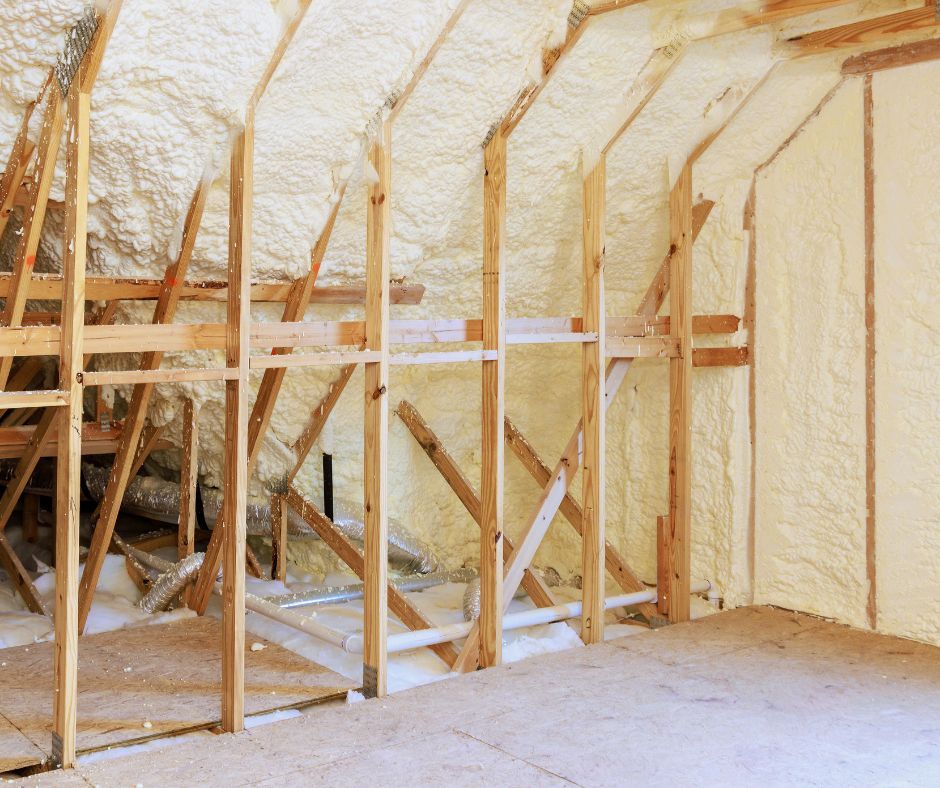
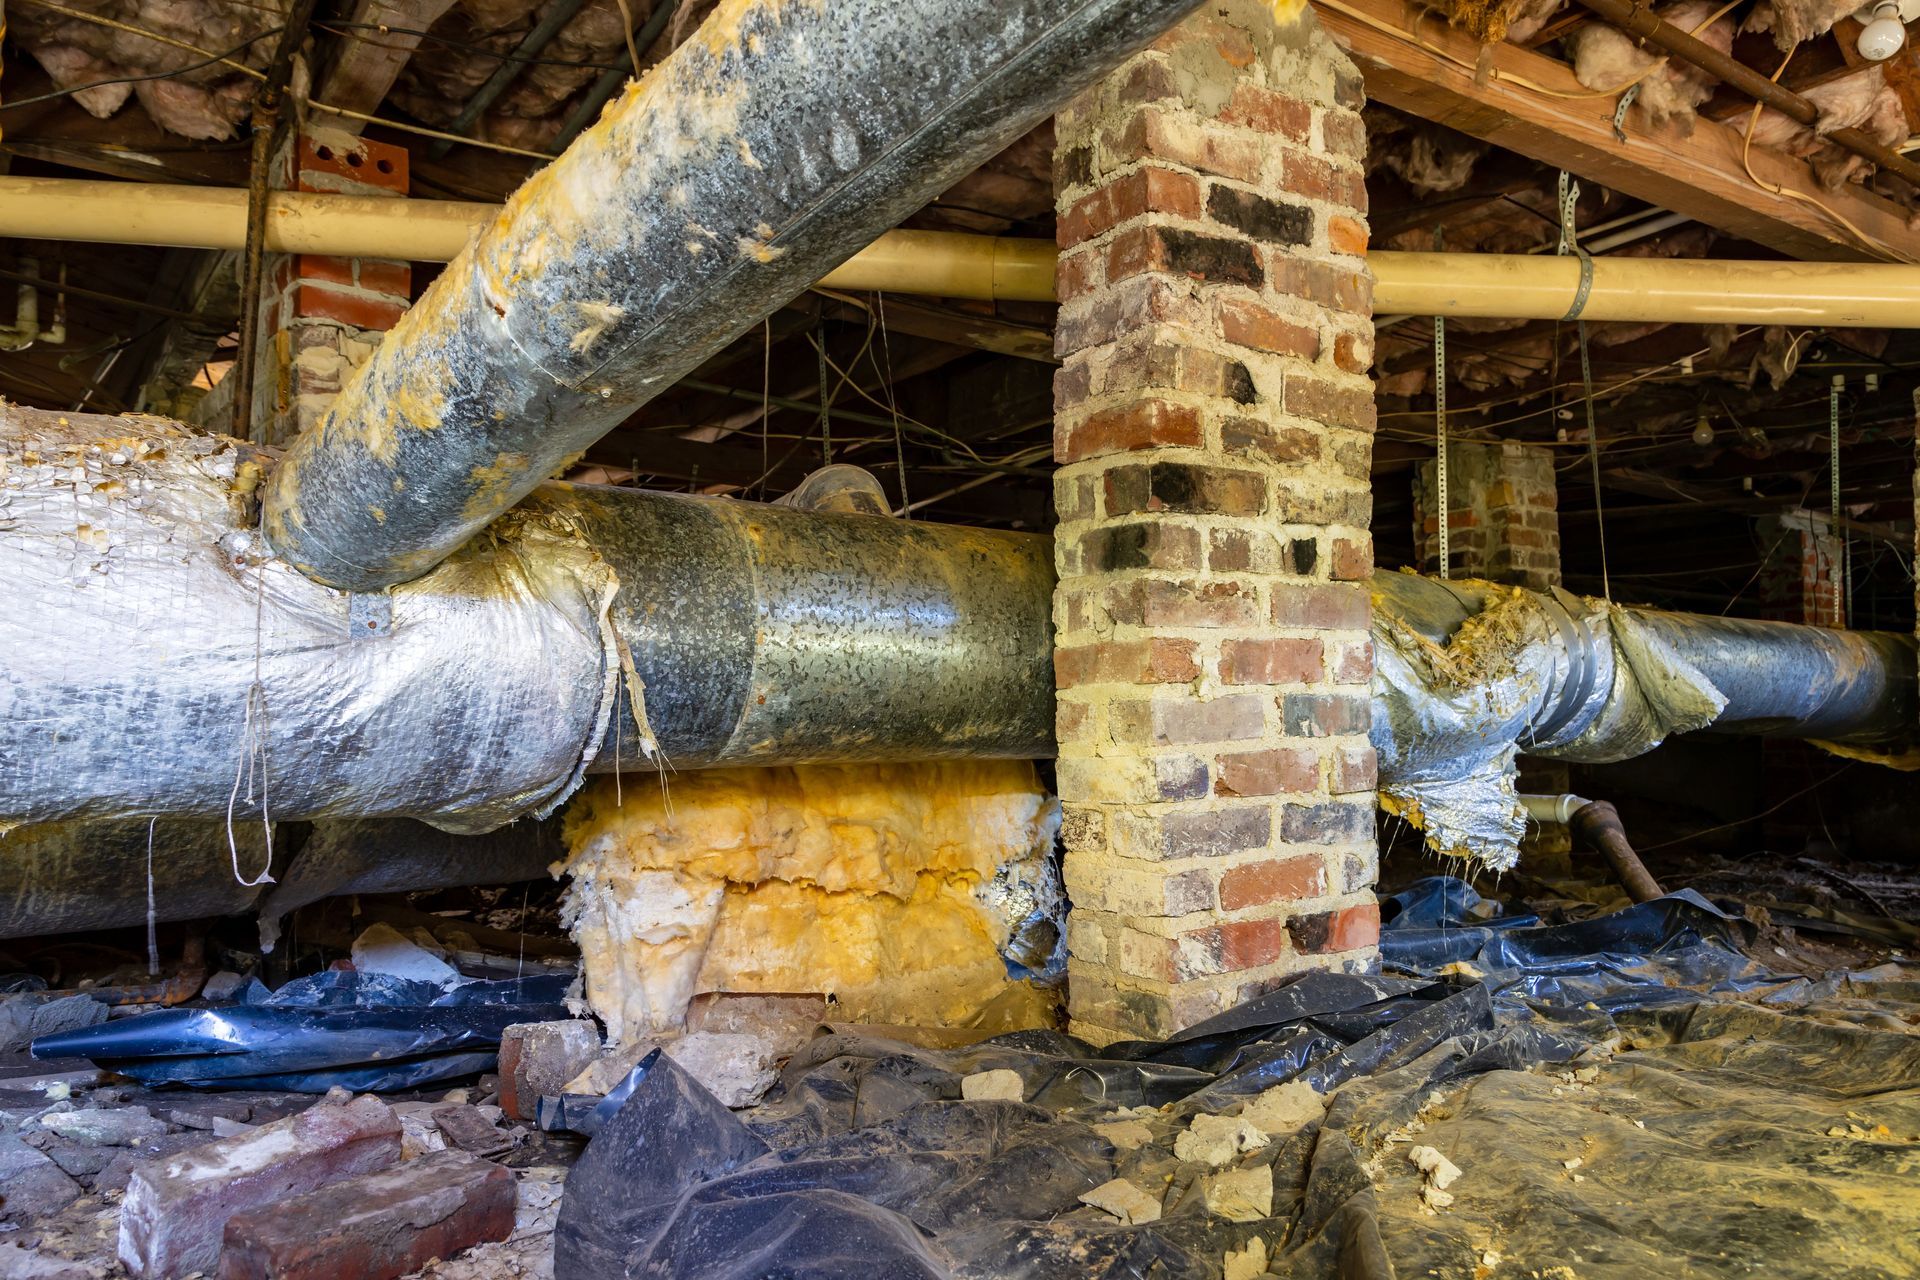
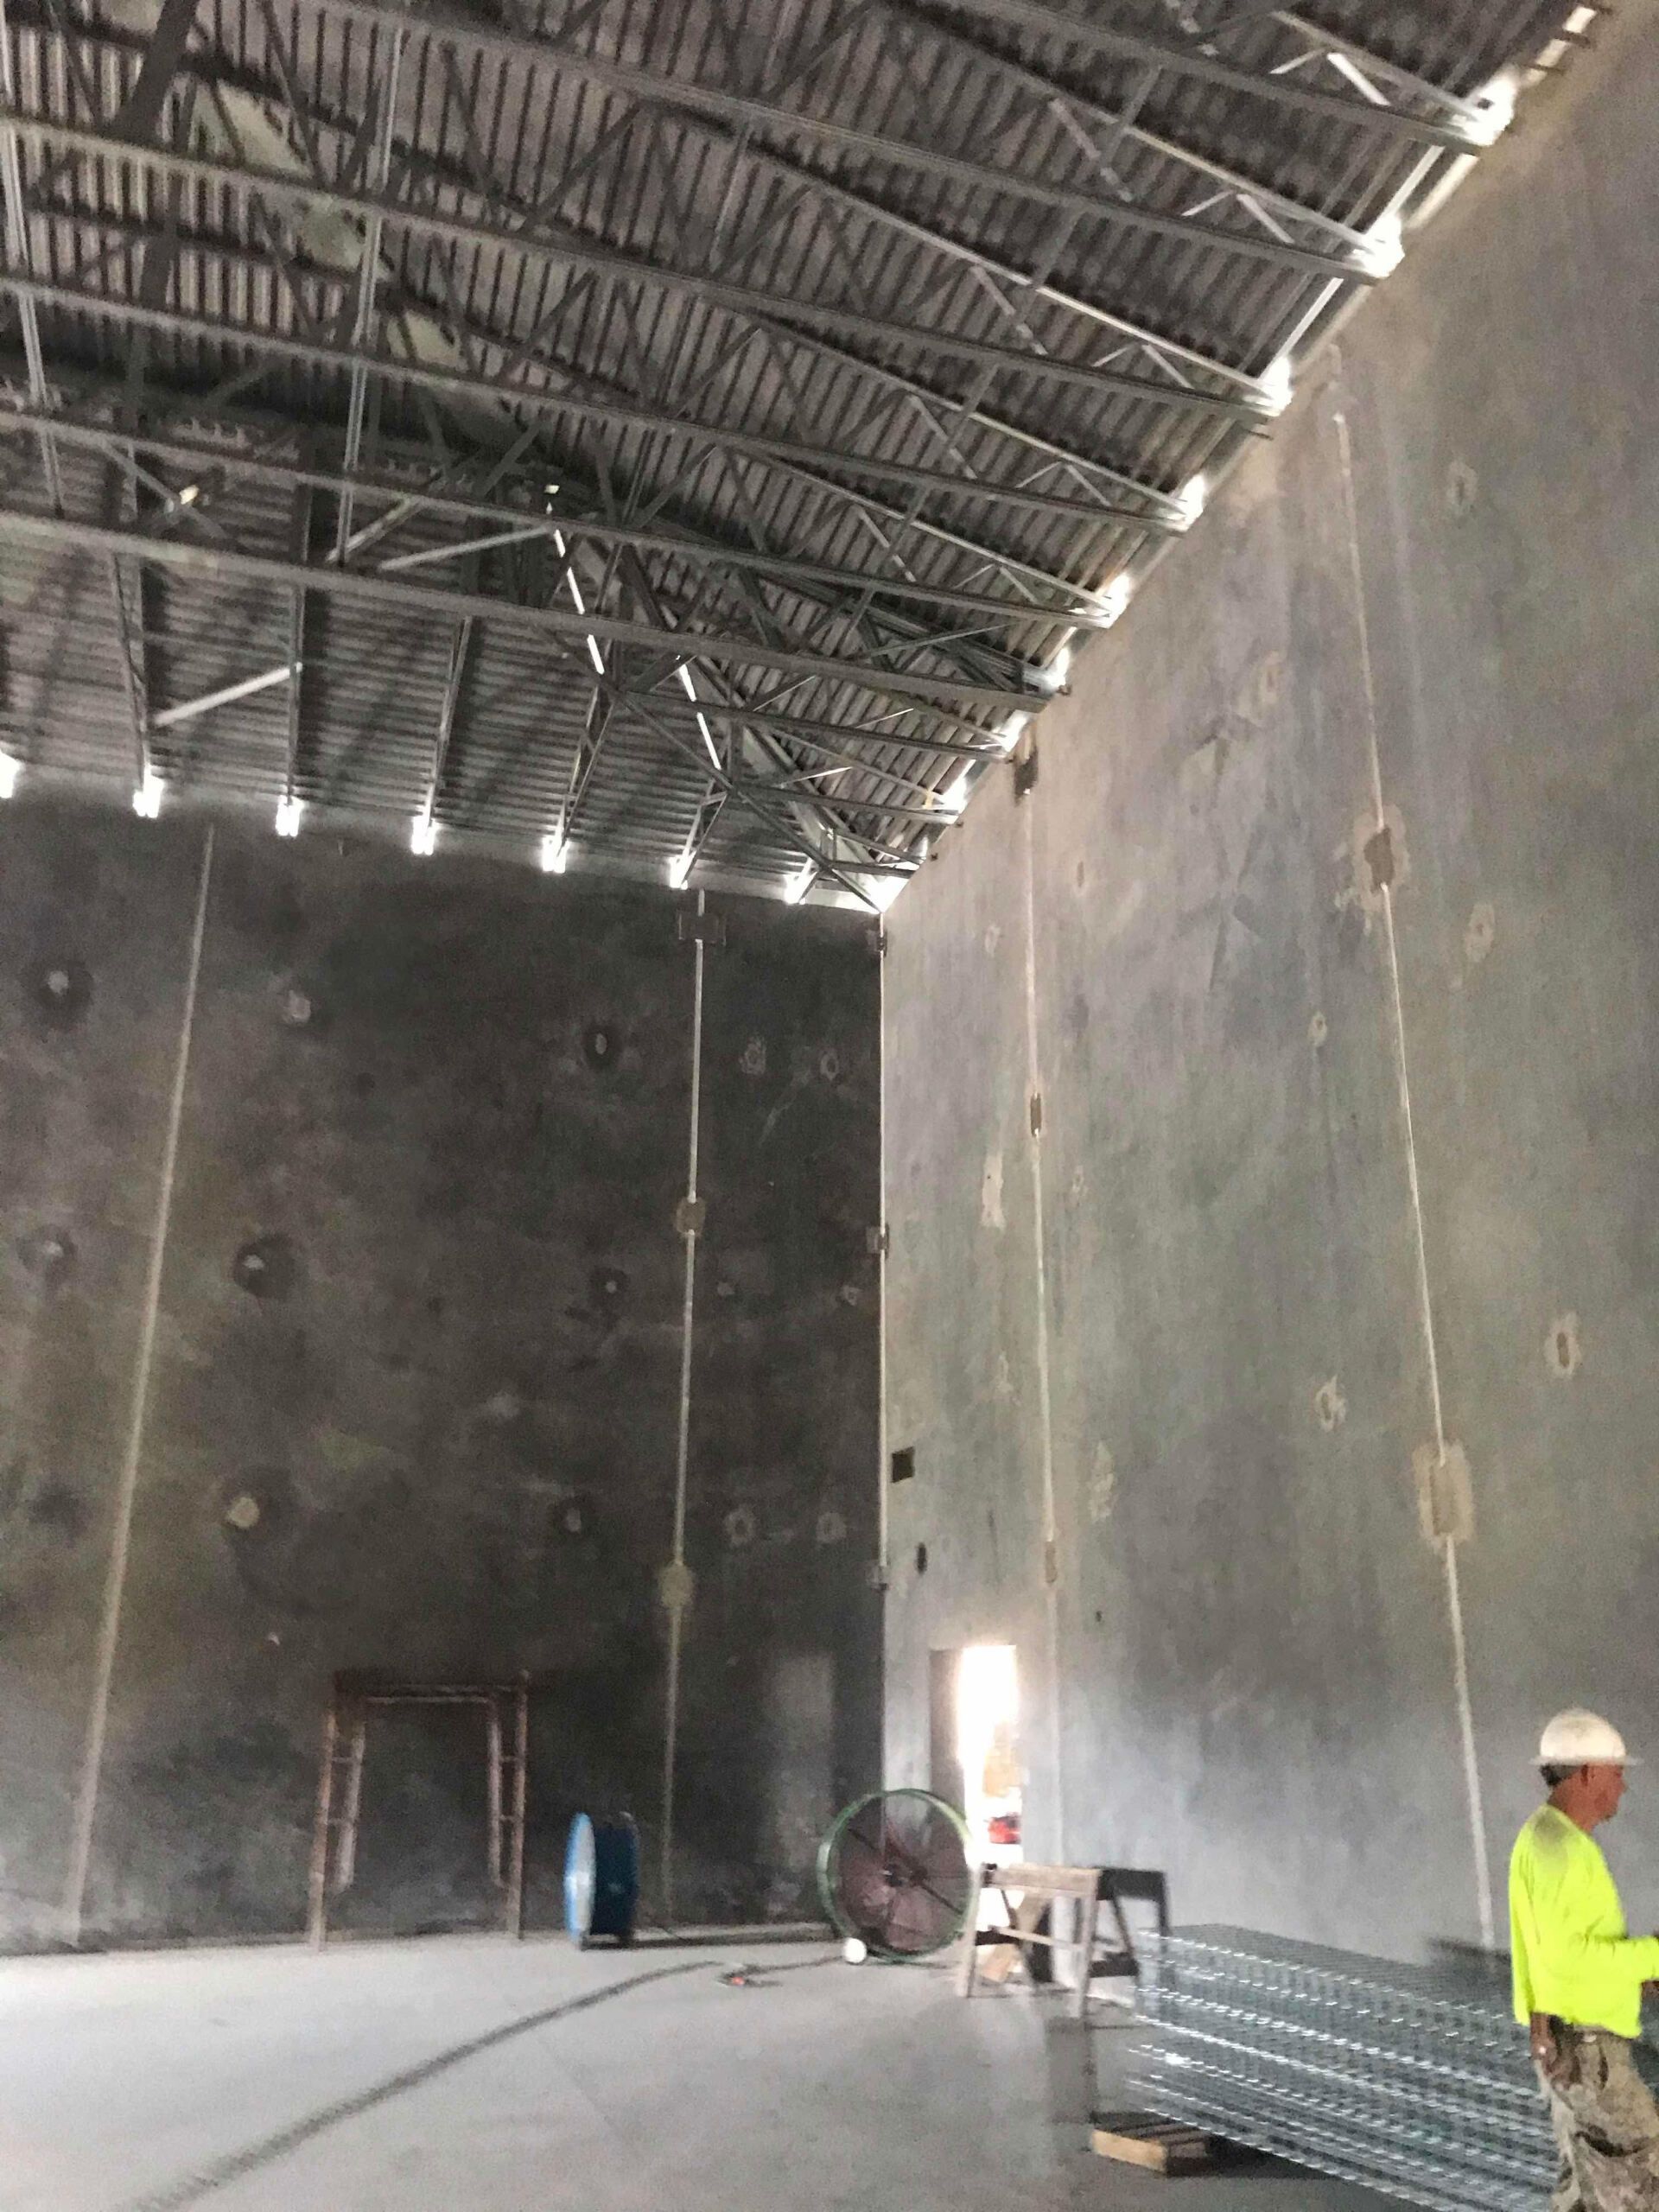
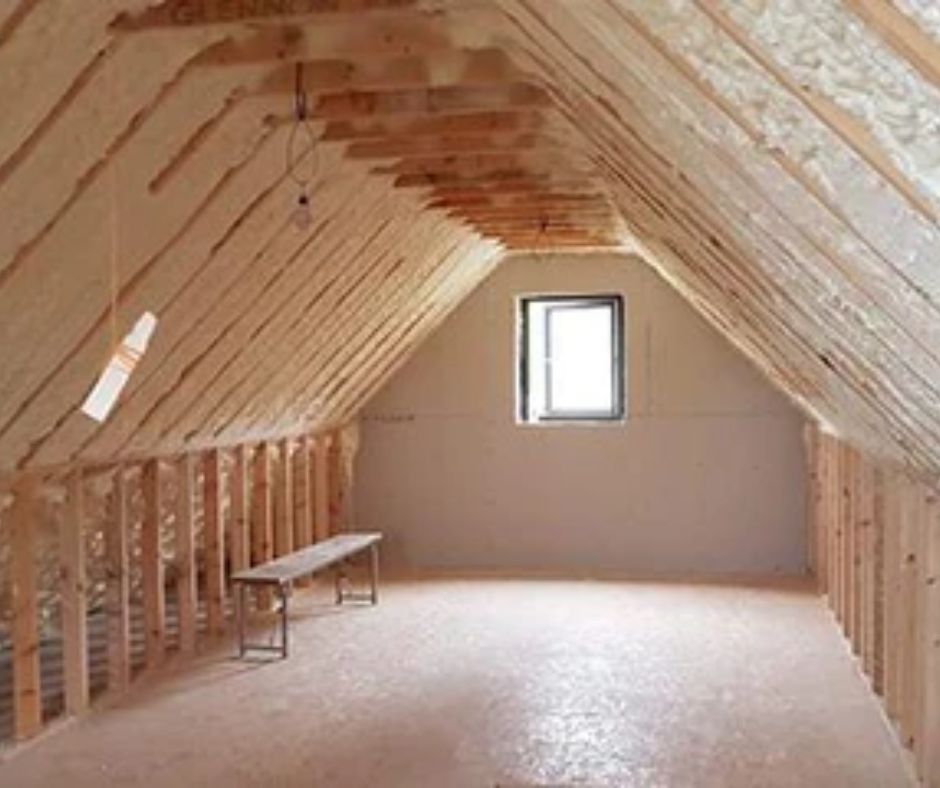
Remove any obstacles or stored items from the installation zone. Whether it's your attic, basement, walls, or crawl space, the area needs to be free of furniture, boxes, or debris. Installers require full access to the surfaces being insulated. In tight areas, even small objects can interfere with application equipment or compromise the seal of the foam.
Step 2: Turn Off HVAC Systems
During application, HVAC systems should be turned off to prevent circulating uncured chemical vapors throughout the home. Notify your insulation contractor about your HVAC system layout so proper precautions can be taken. After installation, wait until the curing process is complete before restarting ventilation systems.
Step 3: Ventilate and Plan for Vacating
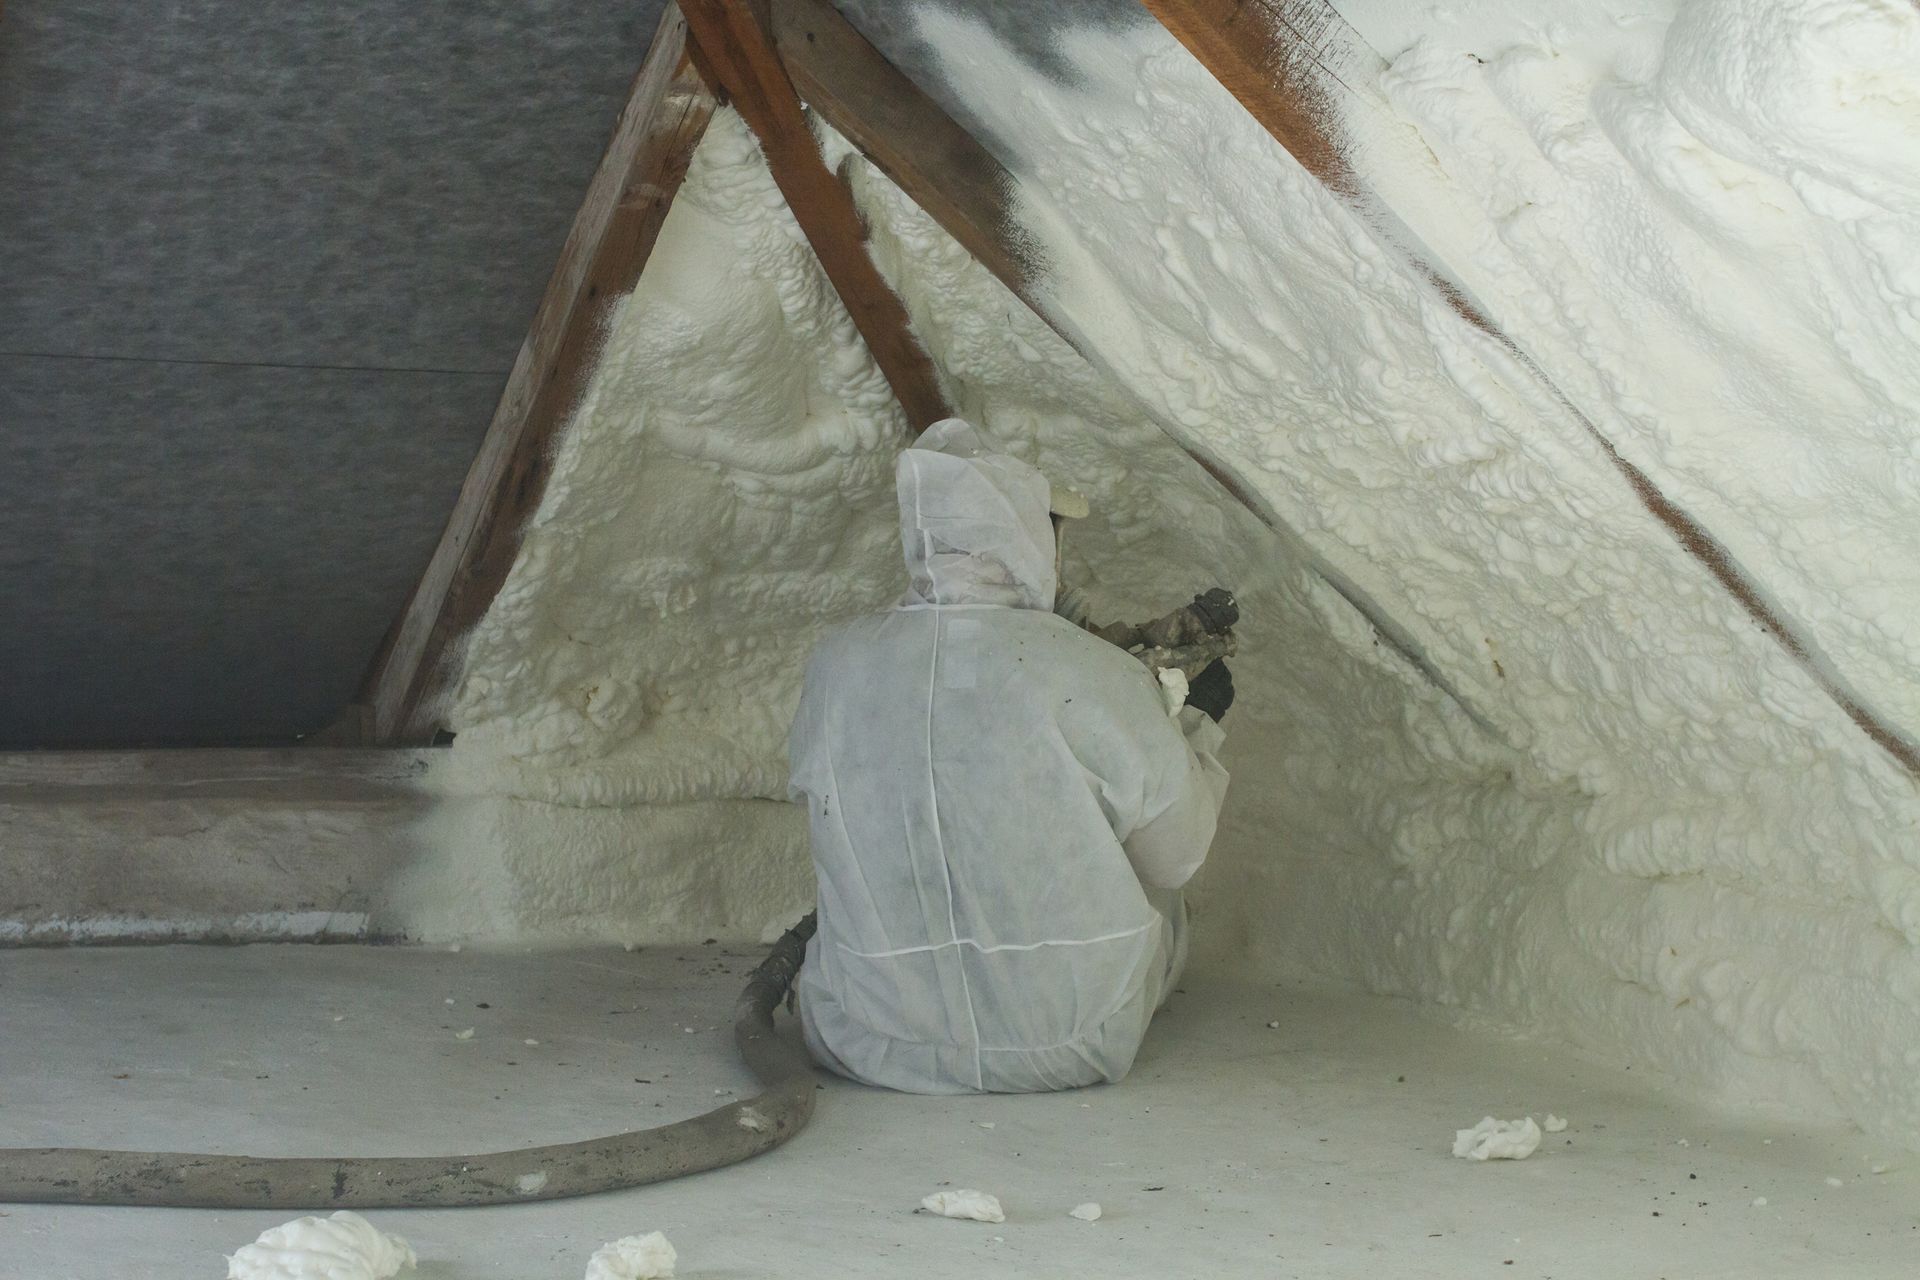
Some spray foam products release fumes that may require you to vacate the building temporarily. Most professionals recommend staying away from the application area for 24 to 72 hours, depending on the product and curing conditions. Discuss this with your contractor in advance and make arrangements for pets, children, or anyone sensitive to fumes.
Step 4: Control Temperature and Humidity
Spray foam should be applied under specific temperature and humidity conditions for proper curing. Indoor environments are typically maintained between 60°F to 80°F. High humidity or cold surfaces can interfere with adhesion. Check that the space is adequately sealed from outdoor weather, and if needed, provide supplemental heating or dehumidifiers.
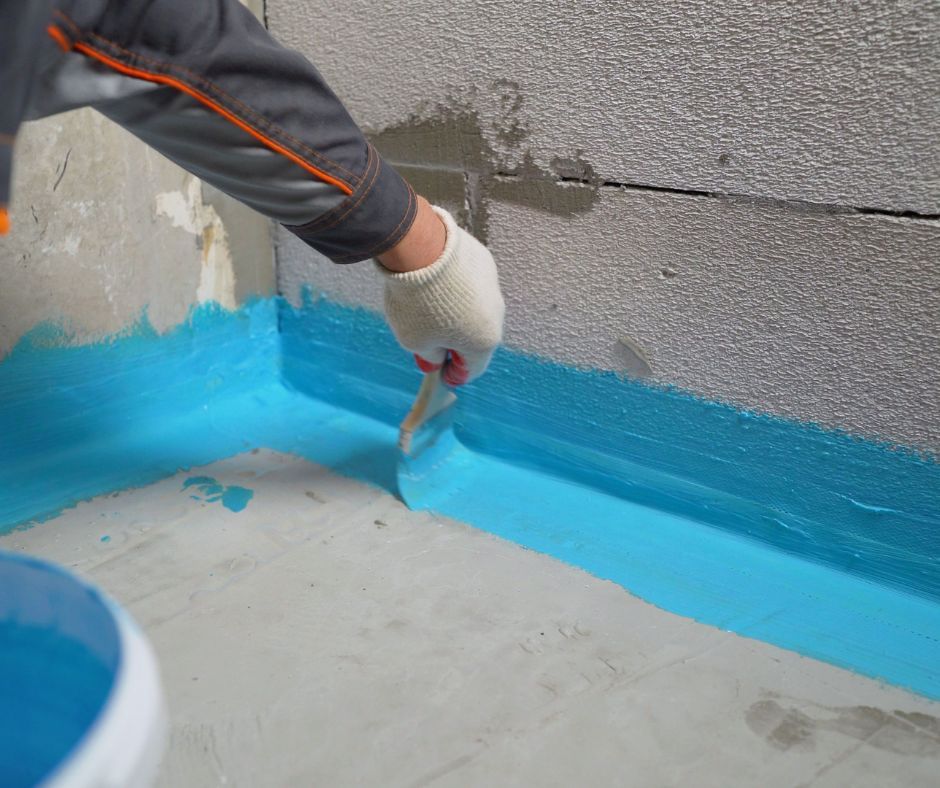
Step 5: Protect Adjacent Surfaces
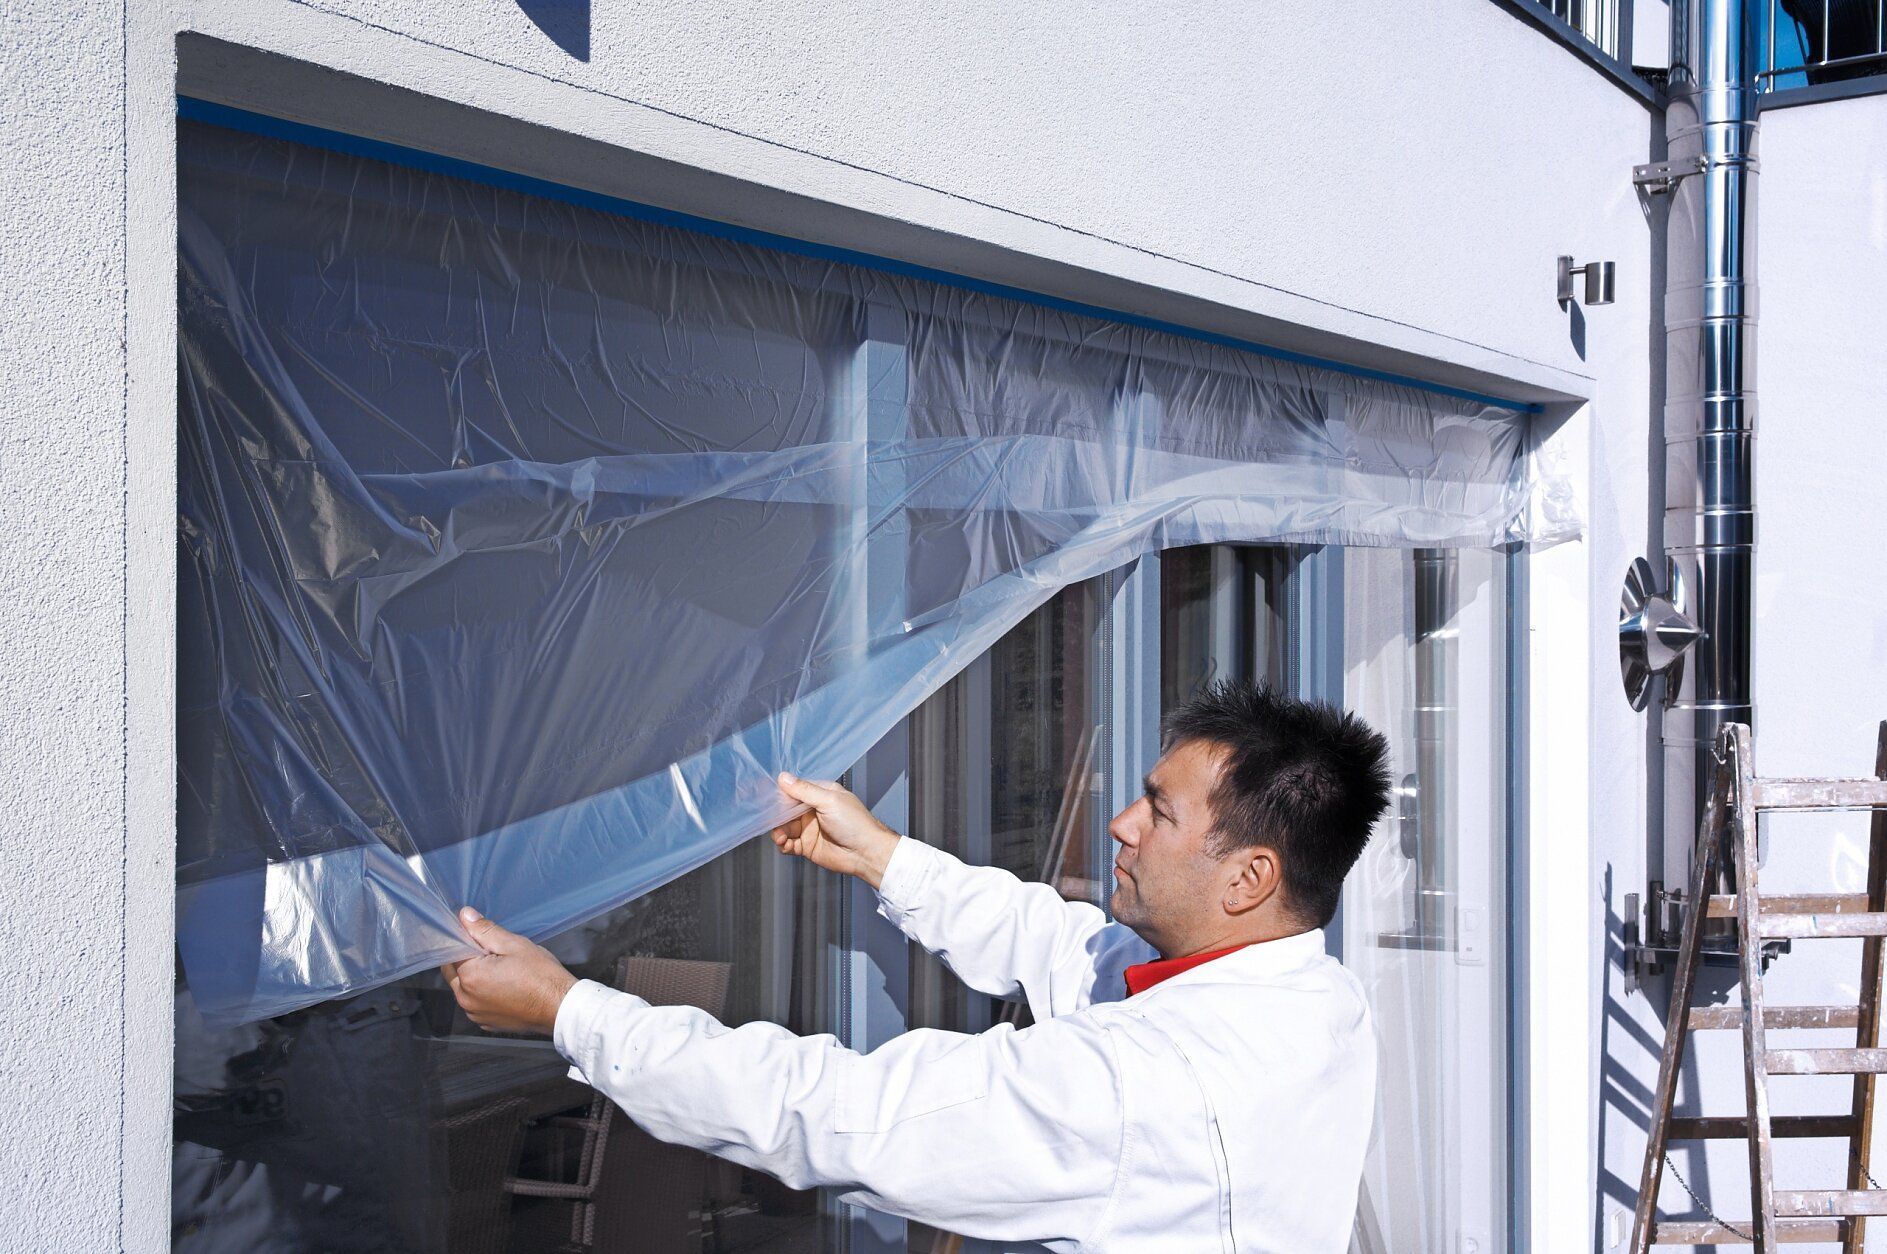
Installers will generally mask off surrounding areas, but you should also take the initiative to cover floors, windows, fixtures, or any surfaces that should not come into contact with foam. Use painter’s plastic, drop cloths, or masking paper to protect finishes from overspray.
Step 6: Address Electrical and Plumbing Access
If walls are being insulated, ensure any electrical wiring or plumbing work is completed beforehand. Spray foam will fill and seal around fixtures and outlets, making post-insulation adjustments difficult. Confirm with your contractor that all inspections or rough-in work is complete before application begins.
Step 7: Secure Valuables and Remove Sensitive Items
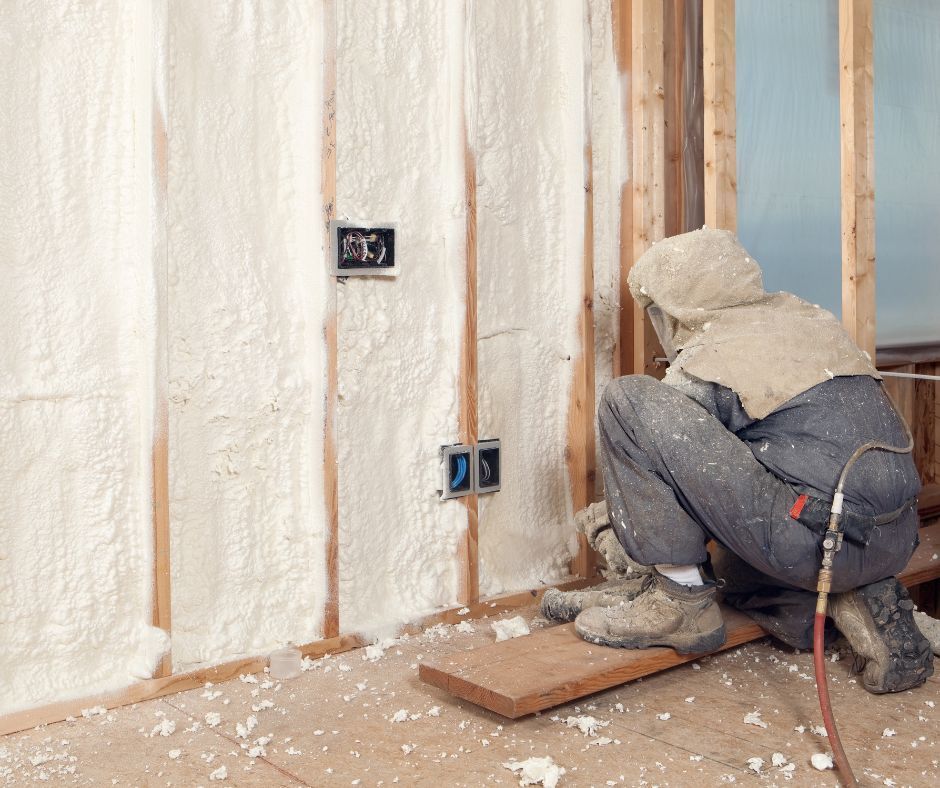
Spray foam generates dust and chemical fumes during installation. Remove artwork, electronics, fabrics, or sensitive items from the area, especially in attics or crawl spaces where such objects may be stored. Close adjacent room doors to prevent drift and isolate the workspace.
Step 8: Communicate with Your Contractor
Confirm the timeline, duration, and safety protocols with your installer before the job starts. Ask for a written checklist or preparation guide if available. Inquire about any specific access points (such as attic stairs or garage entry), and ensure gates, doors, or alarms are properly coordinated on the installation day.
Final Thoughts
Taking the time to prepare your property for spray foam insulation goes a long way in ensuring a smooth process and high-quality results. From clearing access to managing ventilation and safety, each step contributes to better performance and durability. Effective preparation supports a clean, efficient, and professional application — and helps you maximize the long-term benefits of your insulation investment.